Settings that get you marking
Starting power, speed and frequency for the materials we test most often. Use these as a baseline, then confirm contrast and depth on your own part.
Exact settings depend on laser power, lens and material batch — always test on scrap first.
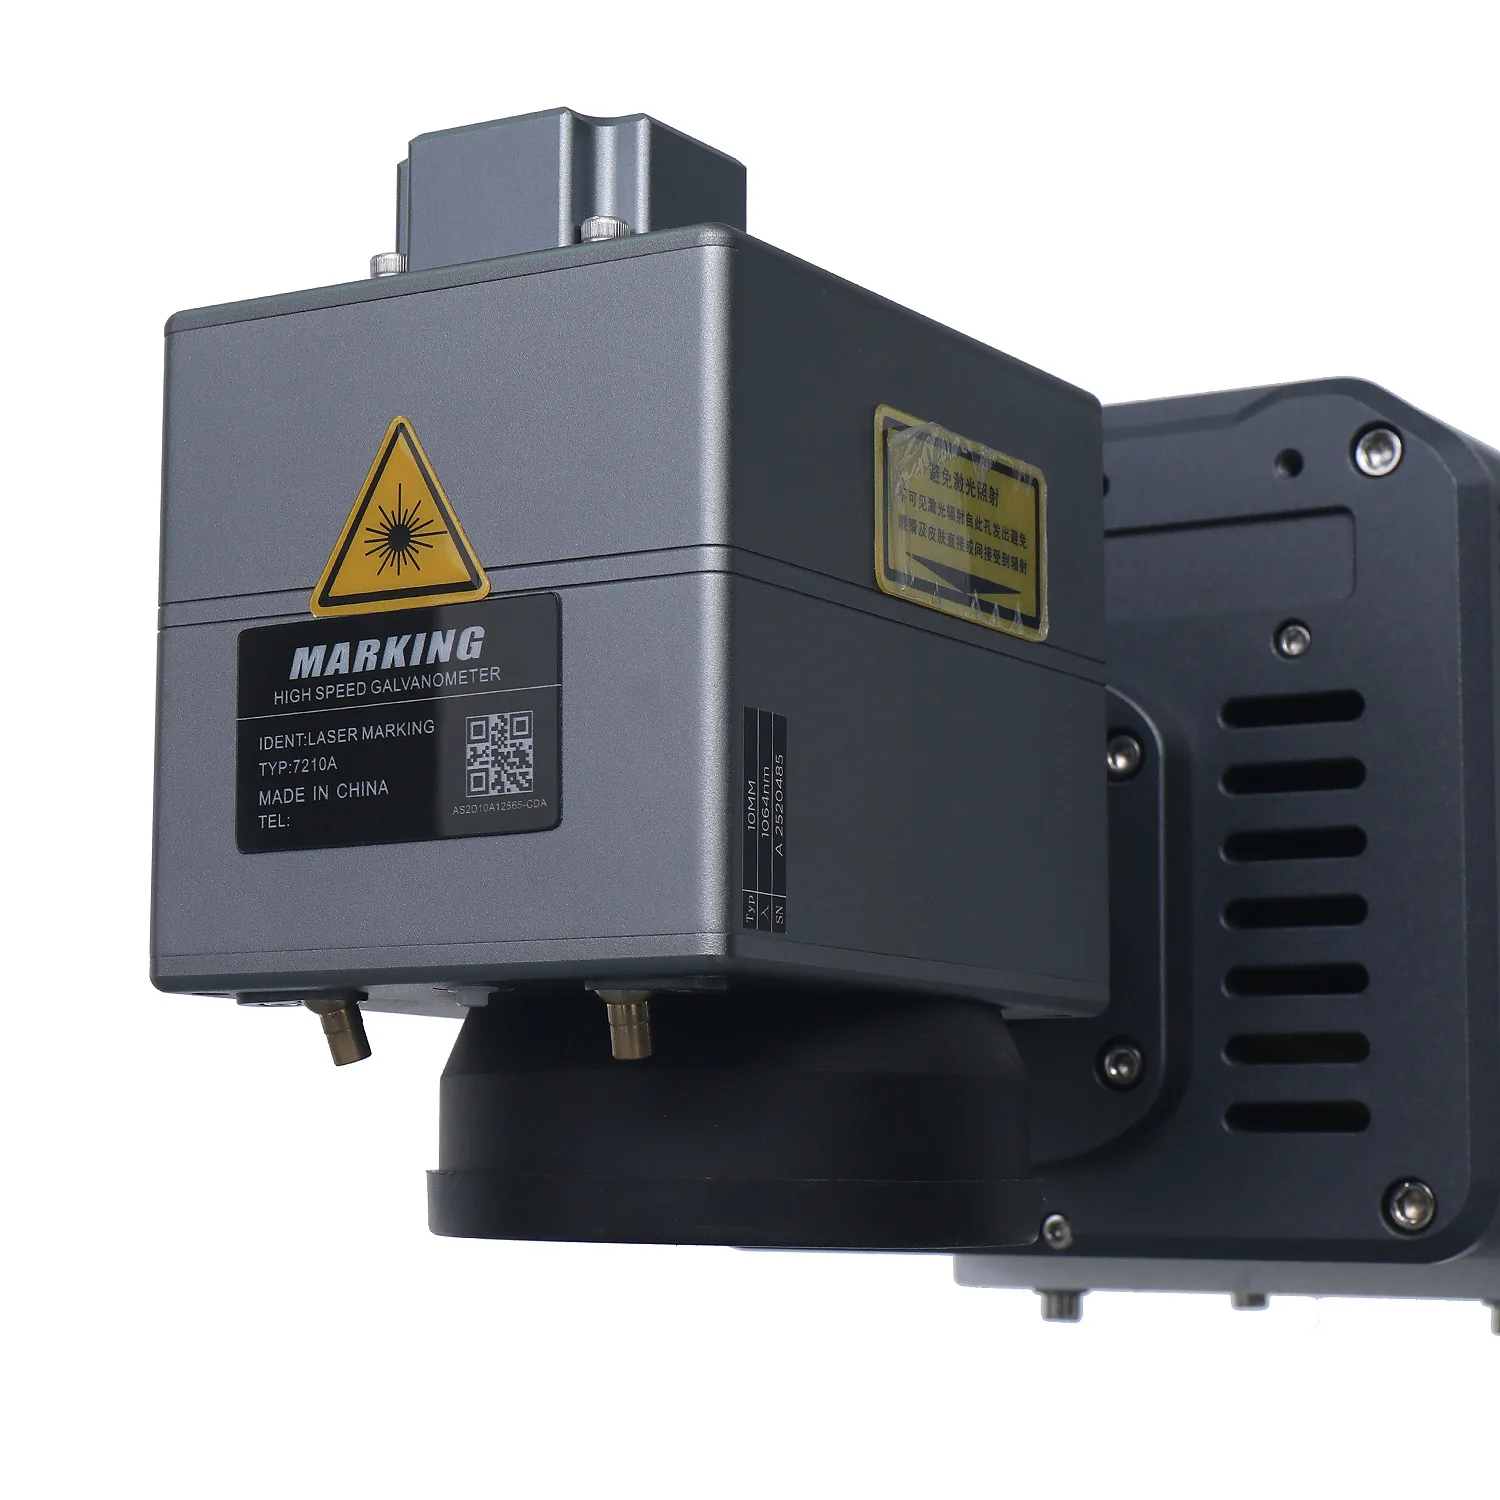 Focus and lens set the mark
Fiber and CO₂ presets
Percentages assume a machine close to the recommended power for the material. Lower power or increase speed if the mark burns.
| Material | Power | Speed | Frequency | Notes |
|---|---|---|---|---|
| Stainless steel | 40–60% | 600 mm/s | 30 kHz | Deep, high-contrast mark |
| Anodized aluminum | 25–40% | 1200 mm/s | 40 kHz | Light, clean mark |
| Brass | 50–70% | 500 mm/s | 25 kHz | Lower speed for contrast |
| Leather | 15–25% | 1500 mm/s | — | Test first; can scorch |
| Wood (CO₂) | 30–50% | 250 mm/s | — | Multiple passes for depth |
| Acrylic (CO₂) | 40–60% | 300 mm/s | — | Watch for edge melting |
Settings are starting points. Actual results vary by machine power, lens and material batch.
How to dial in a new material
Fix the focus
Set the working distance with the gauge first. Every other setting depends on focus being correct.
Run a test grid
Mark a small grid of power and speed combinations on scrap. Keep frequency constant while you compare.
Record the recipe
Note the winning settings against the material and save them in the software profile for repeat work.
Use the library below as a starting point, then adjust for your exact material grade, coating and desired depth. Always test on scrap before running a full batch.
Setting guidance by material
- Metal: higher power, slower speed for depth
- Wood: moderate power, faster speed to avoid charring
- Acrylic: clean, fast passes
- Plastics and glass: UV for low heat
Pair these settings with the right laser machine, and read the laser marking overview for the physics behind each process.
Testing settings on scrap material
Settings are a starting point, not a guarantee, because material grade, coating and thickness all change the result. Always run a small test on scrap before a full batch, and adjust power, speed and frequency by eye.
Record the settings that work for each material so the next run starts clean.
Dialling in power, speed and frequency
Power controls depth, speed controls dwell time, and frequency changes the pulse pattern. For most work, start at a conservative power and speed, then increase until the mark is clean without burning. Coated and anodised materials often need their own settings, so keep a short note per material.
See the machine range or ask our team for a starting profile for your part.
If a material is not listed here, send a sample and we will provide a starting profile based on your exact grade and coating. The goal is a repeatable mark with the least trial and error on your side, and settings you can save for the next production run.
Testing on scrap first is the single step that avoids the most wasted material and the most rework on a new job.
Send your part — we will return the settings
We mark a sample on your material, record the parameters and send both back with the quotation.