Start with one machine. Build something real.
You do not need a factory to begin. Pick one machine, learn the materials that fit your products, and be marking within your first week.
No experience needed. Machines ship assembled, calibrated and tested.
 Products you can mark from day one
Machines that get you producing fastest
Three entry points cover most first businesses. Not sure which one? Send us the product you want to mark and we will tell you.
CO₂ for wood, acrylic and gifts · Fiber for metal, tags and tools · Rotary for tumblers, cups and rings.
From box to your first order
A realistic timeline for a first machine, based on how most customers start.
Day 1 · Set up
The machine arrives assembled and calibrated. Plug it in, follow the guide and make a test mark.
Week 1 · Practice
Use the included presets and scrap material to dial in power, speed and focus for your product.
Week 2–4 · First order
Pick a product that already sells, make a small batch and list it with real photos of the mark.
After · Grow
Refine what sells, add a rotary axis or a second machine, and reinvest in the products with demand.
Built for people starting out
The machine is only half of it. Setup, settings and support are what get you to a sellable product.
Set up in about an hour
Assembled and calibrated at our production base before it ships. The quick-start guide covers installation, focus and the first mark.
No design degree
EzCad for fiber and LightBurn for CO₂ — standard software with ready-made profiles and free tutorials.
Start with one machine
Factory-direct pricing keeps the entry point low. Add a rotary axis, fume extractor or a second machine when the work justifies it.
Help after delivery
Material settings, spare parts and troubleshooting come directly from the team that configured the machine.
What it actually takes to start with one laser
Match the machine to the product you already sell
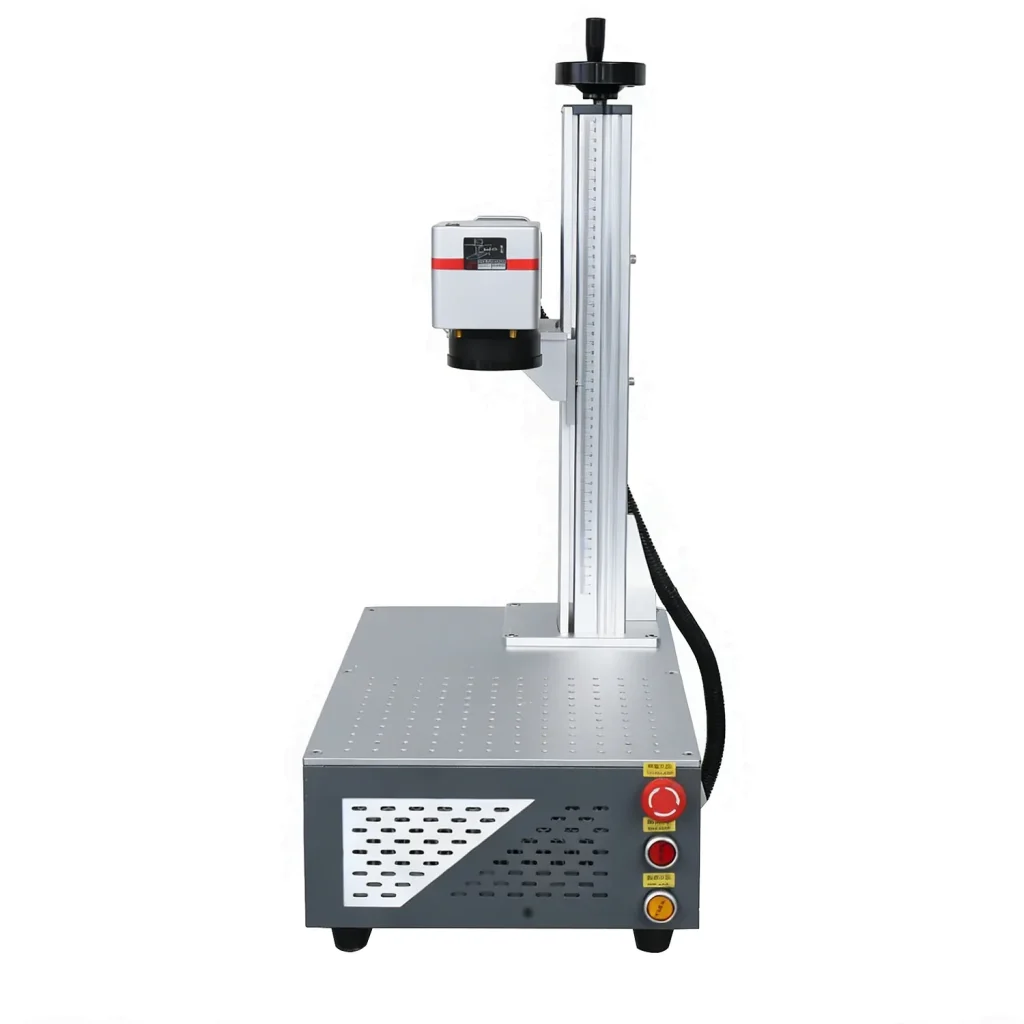
Tumblers, tags, tools and metal gifts point to a fiber laser. Wood, acrylic, leather and coated gifts point to CO₂. If your products are plastic or heat-sensitive, a UV source is the safer choice. Pick the material first, then the power and working area.
The first ninety days
Build a sample library on scrap material, list a small batch with real photos of the mark, and sell before you automate. Once orders repeat, a rotary axis or a second machine usually pays for itself faster than a larger first purchase.
Browse the laser machine range or read the material settings library before you choose. If you are unsure, send us the product and we will tell you which machine fits.
How to start a laser engraving business
Starting a laser engraving business is less about the machine and more about the work you can sell. Before choosing a model, list the materials you expect to mark, the largest part you will handle and the detail customers ask for. A 20–30 W fiber laser covers most metal jewellery, tags and tools; a CO₂ laser covers wood, acrylic, leather and gifts. The fixture, the extraction and the software matter as much as the wattage.
Plan the first month around samples: mark your own products, photograph them consistently and price from the actual cycle time, not from a competitor’s advert. Our material and settings guide gives starting parameters, and the fiber and CO₂ pages explain what each source can do. For business planning, the US SBA business plan guide is a practical reference.
Send us the product you want to mark
We will mark a sample, tell you which machine fits and what it costs — before you spend anything.